
Vim Configuration 02 Nvim的插件配置
@Aikenhong 2021
Vim is a important consistant for editing file in shell. It’s Hightly Customized for Everyone, In this part I’ll Show my personal Vim comfigurations
And I’ll Discuss about the diff between Spacevim & Neovim.
Give a conclusion in advance: Recommand Config the Vim for Yourself
- You only need to config once, then you should save it in the cloud.
- You will Know all the Keyshot you setting up, and you can customize it as you want.
Based on neovim
基于NeoVim进行配置,不采用SpaveVim的配置文件,这里需要建议采用最新的测试版的NeoVim(>= 0.5),Stable的NVim已经很久没有更新,对一些新的插件缺乏支持。
Install
Installing Neovim Download NeoVim Package and Install from source
or Install from neovim-ppa Like Following:
1 | |
在安装了Python之后安装对NVim的适配
1 | |
同时在配置文件中设置
1 | |
检查python配置情况:
1 | |

Update
if we Install the old version of neovim(5.0 which install before add ppa), we can update by apt.
1 | |
Where is Config File
可以在vim中使用:version然后在其中调用:echo $MYVIMRC查看对应的vimrc存放的地址
vim的配置文件地址:
1 | |
nvim的配置文件的地址:
1 | |
有了配置文件以后就可以开始对Nvim进行配置
Basic Config
this part I’ll explain those basic configurations in Vim(NVim). Besides I will simplely introduce the syntax of .ini for writing config.
Basic Setting
nvim初始情况就是完全没有配置的记事本,但是相应的定制化程度高,下面这些是一些固定的配置
1 | |
配置搜索视图:
1 | |
配置Tab和Indent:
1 | |
设置修改配置文件直接应用
1 | |
配置调试python,cpp,sh:使用F5执行输出,默认删除编译的c++
1 | |
支持中文编码:
1 | |
支持鼠标操作:
1 | |
Folding Setting
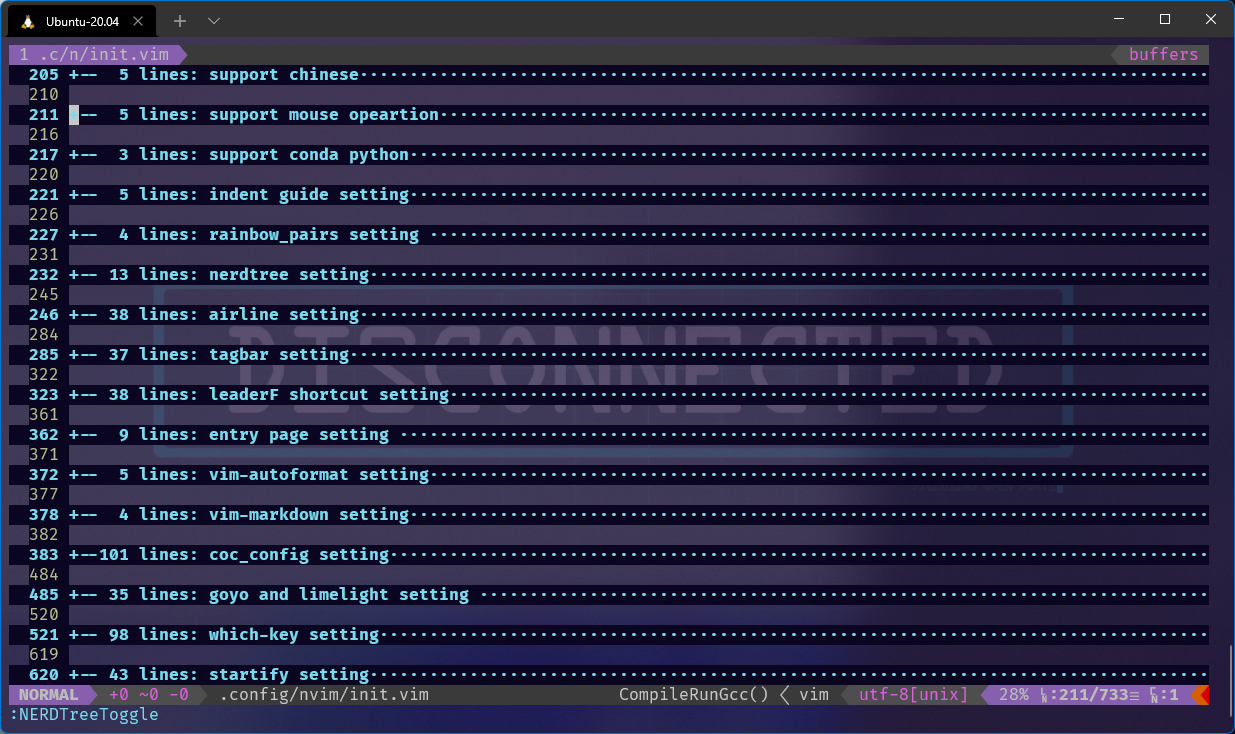
THE RESULT AFTER SETTING WILL BE LIKE THIS
And the Folding can be :mark,indent,syntax
This is not the final version of folding setting, we will contiune complete it.
1 | |
Color And Theme(basic)
Trending vim color schemes | vimcolorschemes
1 | |
在Plug同级目录下创建colors文件夹,将对应的配色文件放到colors,autoload中,
1 | |
Mapping Shortcut
快捷键映射是配置自定义的核心内容,这一块会分享一些比较特别的映射。
Shortcut key mapping is the core content of configuration customization. This section will share some special mappings.
| 快捷键配置 | 修改位置和方法 |
|---|---|
| 插件的默认配置 | .config/nvim/plugins/NAME/PLUG.vim 1. 修改对应的快捷键 2. 主配置文件中duplicate 对应的命令 |
| 默认的配置文件 | 在不同的命令下分别对应 1. 普通模式下的映射 2. 可视模式下的映射 |
配置使用<Alt>进行windows的切换
1 | |
配置tab和shift tab来实现vscode中的行缩进配置
1 | |
特殊命令:
1 | |
复制粘贴全选:
1 | |
Plugs
插件是个性化配置的另一个核心点;Plugs is another core of personalized configuration
使用插件来支持语法,外观,补全,文件管理 ;Use plugins to support syntax, appearance, completion, and file management ;
- 安装插件的时候,如果遇到一些安装失败的时候,我们可以通过以下的命令来获取对应的详细信息
:messages
VIM-PLUG
junegunn/vim-plug: Minimalist Vim Plugin Manager (github.com)
你只需打开终端并运行以下命令:
1 | |
Neovim 用户可以使用以下命令安装 Vim-plug:
1 | |
安装完插件管理器,我们可以在配置文件中通过一下的操作来安装插件:
1 | |
常用的一些命令:
| Command | Desc |
|---|---|
| PlugInstall | Install Package |
| PlugUpdate | Update those packages |
| PlugStatus | Show The Status of all the package |
| PlugClean | Clean the error Plug or del those Plug not Define any more |
| PlugUpgrade | Update Vim-Plug itself |
常用的一些命令优化下载速度更换源:
1 | |
或者我们借助Windows主机的代理服务器来对Github进行加速,如果存在稳定的代理的话,这个方式可能是更优的一个
参考[[Envs/Windows.md]]中的Proxy
Langs Support
这一部分介绍各种语言的支持LSP,以及对应的配置操作。
Appendix
Add Header for Langs
1 | |
Dependency
This Session I’ll intrduce some dependency for those PLUGs and the env
Reference
- Yggdroot/LeaderF : basic config and keyshort setting
- liuchengxu/vim-which-key
- Config your which key
- vim-airline-themes
- Vim Awesome
- plasticboy/vim-markdown
- Neovim+Coc.nvim配置 目前个人最舒服终端编辑环境(Python&C++) - zprhhs - 博客园 (cnblogs.com)
- init.vim · SpringHan/nvim - Gitee.com
- Python;
- C:Using g++ instead of gcc will support C++
Configuration File
1 | |
COC安装注意事项
安装npm,node
1 | |
build/index.js not found, please install dependencies and compile coc.nvim by: yarn insta
切换到coc目录,yarn install,
1 | |
安装clang:
Airline
Install Powerline Font powerline/fonts: Patched fonts for Powerline users. (github.com)
Tagbar
该安装依赖于ctags为了支持Markdown情况下的Tagbar,这里推荐安装Universal Ctags
使用镜像站clone
1
2
3cd .install/
sudo git clone https://github.com.cnpmjs.org/universal-ctags/ctags.git
cd ctags
安装前置依赖
1
2
3
4
5
6
7
8
9
10
11
12sudo apt-get install make \
autoconf \
ppkg-config
sudo apt install \
gcc make \
pkg-config autoconf automake \
python3-docutils \
libseccomp-dev \
libjansson-dev \
libyaml-dev \
libxml2-dev在
ctags目录下安装1
2
3
4./autogen.sh
./configure --prefix=/where/you/want # defaults to /usr/local
make
sudo make install验证安装成功与否
1
2
3ctags
# sueecess will output
# ctags: No files specified. Try "ctags --help"support markdown
Add those into vimrc
1
2
3
4
5
6
7
8
9
10
11
12
13
14
15
16
17
18
19
20
21
22
23
24
25
26let g:tagbar_type_markdown = {
\ 'ctagstype' : 'markdown',
\ 'kinds' : [
\ 'c:chapter:0:1',
\ 's:section:0:1',
\ 'S:subsection:0:1',
\ 't:subsubsection:0:1',
\ 'T:l4subsection:0:1',
\ 'u:l5subsection:0:1',
\ ],
\ 'sro' : '""',
\ 'kind2scope' : {
\ 'c' : 'chapter',
\ 's' : 'section',
\ 'S' : 'subsection',
\ 't' : 'subsubsection',
\ 'T' : 'l4subsection',
\ },
\ 'scope2kind' : {
\ 'chapter' : 'c',
\ 'section' : 's',
\ 'subsection' : 'S',
\ 'subsubsection' : 't',
\ 'l4subsection' : 'T',
\ },
\ }
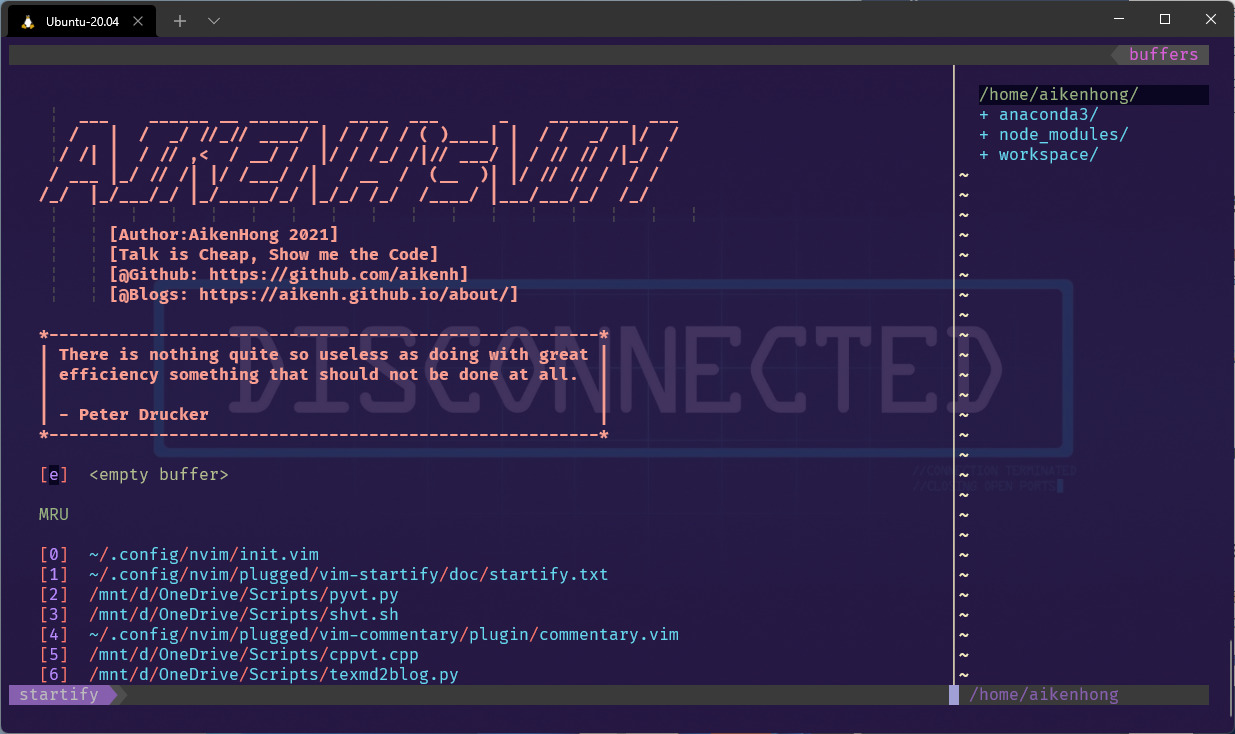
Startify 起始页设置
Code Yarns – How to create ASCII art of text using FIGlet
Vim project switcher using Startify (ricostacruz.com)
Improve NPM download
临时设置:
1 | |
全局使用:
1 | |
验证配置是否成功:
1 | |
通过cnpm使用:
1 | |
Vim中执行程序
Markdown Preview WSL
在WSL中无法调出preview的问题,运行时使用message查看err,若为’Cannot find module ‘tslib’’:
到插件目录执行`yarn install`或者`npm install`
Split Windwos 窗口切分
this part is about windows split which is like tmux.
vim的窗口切分命令,在命令行的模式下执行
1 | |
窗口,缓冲区切换快捷键
1 | |
Vim Folding 折叠
Vim Grammer 特殊用法
Using Vim KEYSHORT like write an article with special grammar.
In the way, there’ll be some interesting usage.
这里有一些有趣的用法,通过vim的语法可以列出来
Voice 语态
动词:r replace, d delete, y yank, f find, v visual
介词: i in, a around, t to, f forward
名词: w word, p paragraph, t tag, s sentence
Vim Configuration 02 Nvim的插件配置