
StableDiffusionWebUI鉴权设计
[> [!summary]+
this article purpose is to build an authority page for stable diffusion webui using nginx & python/js. Which can publish my personal stable diffusion server. Wrote by GPT(try).

Introduction
In the digital age, the security and user-friendliness of web services are not just conveniences; they are necessities. Balancing robust security protocols with an engaging user experience is key to maintaining both the integrity and popularity of any online service. This blog post dives into the intricacies of securing web services using Nginx for authentication, coupled with designing an appealing frontend. Our journey begins with a practical scenario:
publishing a stable diffusion webUI service, accessible only to an authenticated audience.
Setting Up Nginx for Secure Authentication
Nginx excels in serving web pages and as a reverse proxy, providing enhanced security through authentication mechanisms. Let’s explore a typical Nginx configuration for secure authentication:
- /verify_token: This block forwards authentication requests to a dedicated server. By excluding the request body and focusing on essential headers, it ensures that only valid, authenticated requests proceed.
1 | |
- /login: Catering to login requests, this configuration forwards the necessary details to the authentication server, preserving crucial information about the request’s origin.
1 | |
- Error Handling (@error401): A clever redirect mechanism that guides unauthenticated users to the login page, keeping the original URL intact.
1 | |
- Root Location (/): The gateway to your service, which rigorously checks each request for authentication, granting access only to verified users.
1 | |
This setup not only fortifies your service against unauthorized access but also maintains a seamless user experience, redirecting unauthenticated users without hassle.
Implementing JWT for Robust Backend Authentication
Implementing JWT (JSON Web Tokens) in a Flask web application provides a secure way of handling authentication. The provided Flask code demonstrates how JWT can be integrated for a robust backend authentication system:
- Setup and Environment Variables:
- The Flask app is configured with a secret key, essential for JWT encoding and decoding.
1 | |
- Login Route:
- The
/loginroute handles user authentication. Upon successful login, a JWT is encoded with the user’s information and expiration time, then sent as a cookie.
- The
1 | |
- Token Verification:
- A decorator
token_requiredis used to verify the JWT token in subsequent requests. This ensures that only authenticated users can access certain routes.
- A decorator
1 | |
- Token Validation Endpoint:
- The
/verify_tokenendpoint checks the validity of the token, which is essential for integrating with the Nginx authentication mechanism.
- The
1 | |
- Dynamic Secret Key Update:
- A function
update_secret_key_in_envis included to update the secret key daily, enhancing security by invalidating old tokens.
- A function
1 | |
- Visitor Count Feature:
- As part of the user experience, a visitor count is maintained, which is updated with each visit.
1 | |
This implementation of JWT in a Flask application exemplifies a secure and efficient way of handling user authentication, ensuring that only authorized users can access protected services.
Designing a User-Friendly Frontend
In tandem with robust backend security, the frontend of your web service plays a crucial role in user engagement and satisfaction. Let’s delve into the key features of our project’s frontend design:
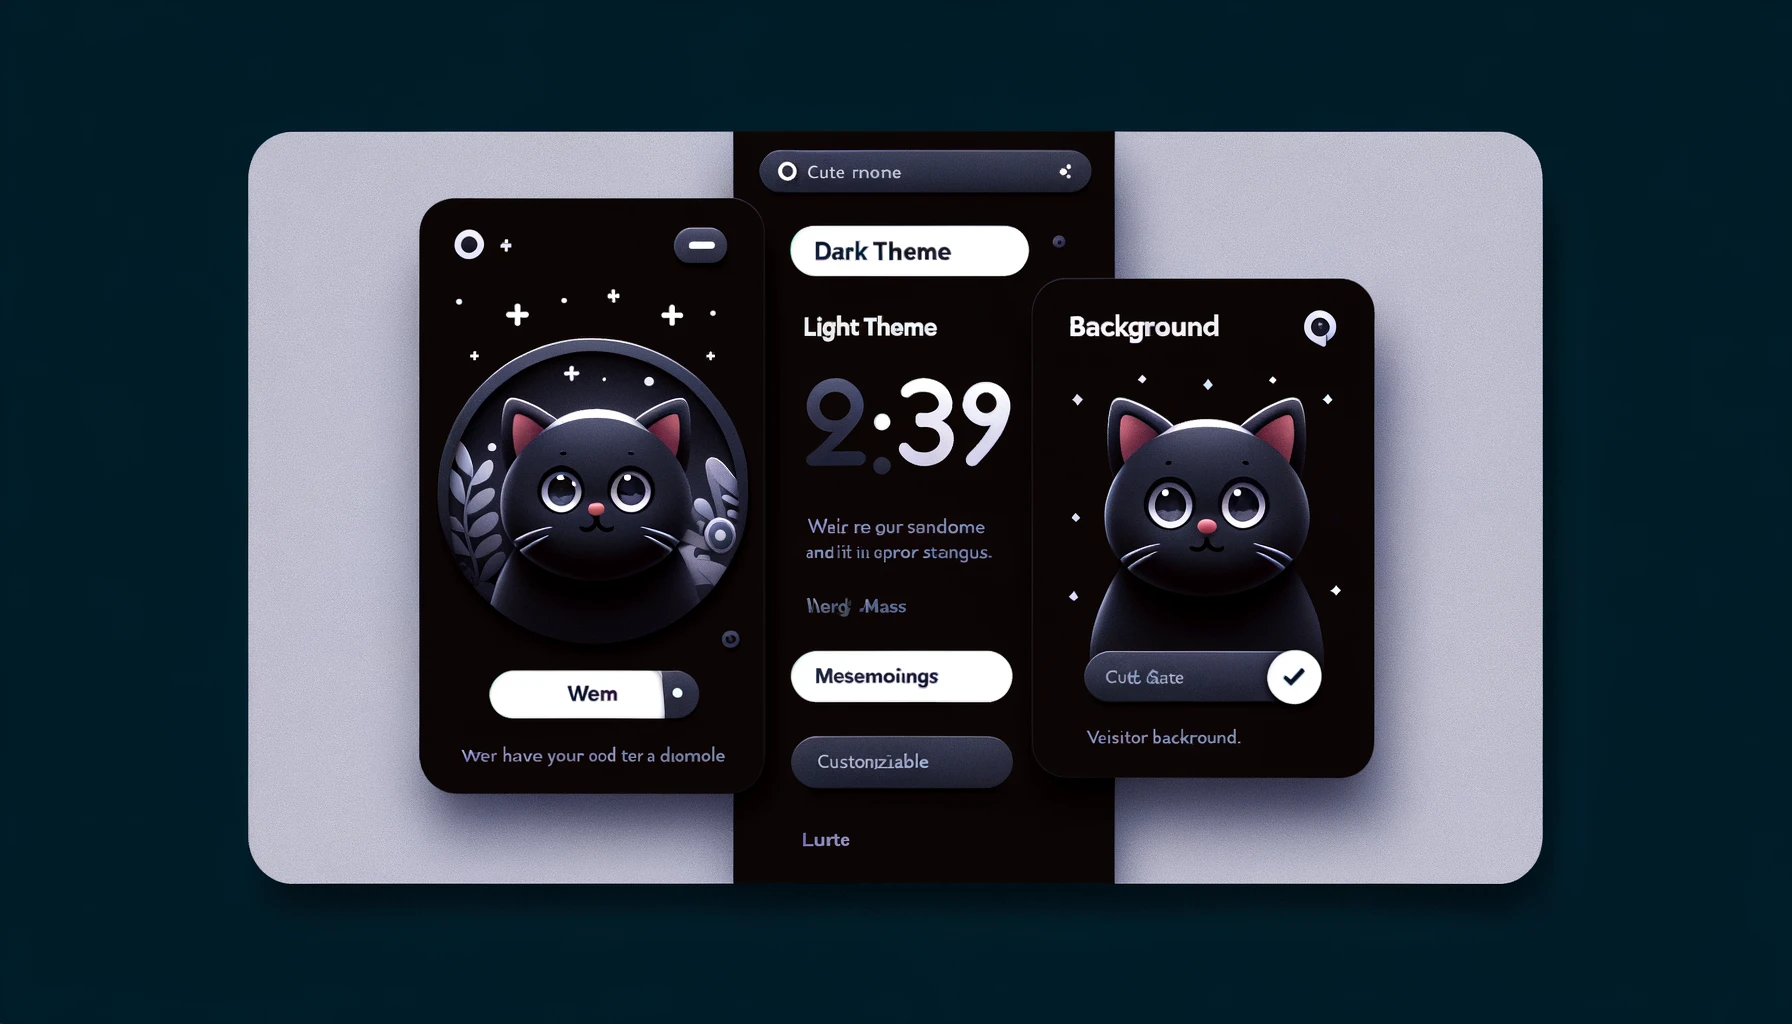
Theme Toggle and Slogan:
- The theme switcher allows users to choose between dark and light modes.
1 | |
- A catchy slogan is displayed, setting a creative and visionary tone.
1 | |
Login Interface:
The entry point of any web service, the login page, is where security meets user experience. Our Flask-based web application presents a clean and intuitive login interface. It includes fields for username and password and a login button. This simplicity ensures ease of use while maintaining a professional appearance.
1 | |
- Additional subtitle for contextual information.
1 | |
Interactive Error Handling:
- A unique error message display using a cat image, adding a touch of humor.
1 | |
Footer with Visitor Count:
- Displaying the visitor count adds an interactive and transparent element.
1 | |

Comparing Authentication Methods: JWT, OAuth, and Basic Authentication
In the realm of web security, selecting the right authentication method is crucial. Let’s compare JWT (JSON Web Tokens), OAuth, and Basic Authentication to understand their unique features and use cases:
JWT (JSON Web Tokens):
- Mechanism: Encoded tokens that carry claims and are used for secure data exchange.
- Use Cases: Ideal for single sign-on (SSO) and stateless applications.
- Pros: Highly flexible, supports cross-domain requests, and is self-contained with payload data.
- Cons: Requires careful management of secret keys and token expiration.
OAuth:
- Mechanism: An authorization framework allowing applications to secure designated access without revealing user credentials.
- Use Cases: Best for third-party access (like social logins) and granting limited access to user data.
- Pros: Enhanced security as user credentials are not exposed, and allows token-based access control.
- Cons: Complex implementation and requires understanding of tokens and scopes.
Basic Authentication:
- Mechanism: A simple authentication scheme built into the HTTP protocol using username and password.
- Use Cases: Suitable for simple login needs, especially when accessing APIs for internal use.
- Pros: Easy to implement and understand.
- Cons: Less secure as it sends credentials in base64 encoded format, vulnerable to interception.
Each of these methods has its strengths and weaknesses, and the choice largely depends on the specific requirements of your web application.
Conclusion: Balancing Security and User Experience in Web Services
As we conclude this journey through securing and personalizing web services, it’s clear that the right blend of backend security and frontend design can significantly enhance both the security and user experience of a web application.
From implementing robust JWT authentication in a Flask application to designing an engaging and intuitive frontend, each aspect plays a pivotal role in delivering a seamless and secure user experience. Whether it’s the compact and scalable nature of JWTs, the interactive and user-friendly design elements on the frontend, or the comparative analysis of different authentication methods, each component contributes to a comprehensive web service solution.
For small projects, especially, the choice of JWT stands out for its efficiency, scalability, and ease of implementation, making it a wise choice for developers looking to secure their applications without compromising on performance or user experience.
In the end, the key takeaway is that security and usability do not have to be at odds; with the right tools and approaches, they can complement each other to create web services that are not only secure but also enjoyable to use.
We encourage our readers to explore the code and concepts discussed in this blog post and to visit the GitHub repository for the original code at ezEncryptYourService. Dive in, experiment, and elevate your web services to new heights of security and user engagement.
StableDiffusionWebUI鉴权设计